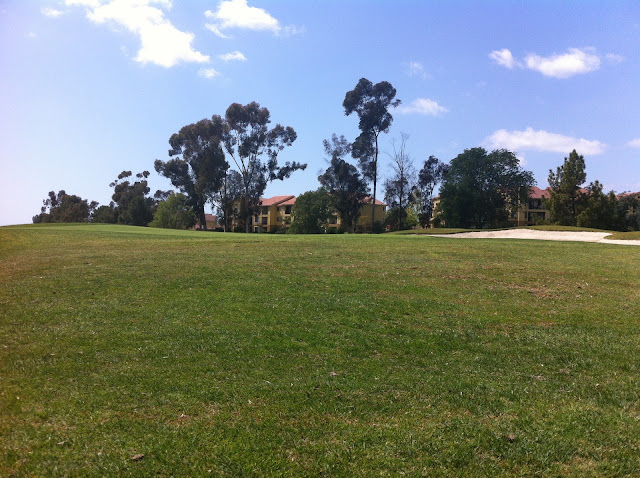
 We took advantage of the hole closure on #17 to tackle a project I've been eager to complete. The approach on 17 had a large mound just before the green around two sprinkler heads. (Photo below) I'm not sure how it got there, but I bet that many golfers have played victim to a vicious bounce toward the lake.
 With the hole closed for the lake project, we had plenty of time to do this project and to do it right. The sod was cut and arranged in the same order it came out. If the sod gets put back in a different order or orientation you'd be able to see the difference between each piece.
We used the sod cutter to remove layers of soil until the grade was about right. Unfortunately, the soil beneath was nothing short of awful. It reminded me of the blue clay we found at 300 feet during the drilling of our well. We could have cored out a section and replaced with sand, but then that portion of the approach would behave differently than the rest. Instead, we aerified, mixed in some native soil and sandy material, and added some good fertilizer.
The sprinkler heads needed to be lowered by nearly 6 inches along with the surrounding soil. When everything was tight and level, we put the puzzle back together in a very picky fashion. We put it down, pulled it back up, added more sand or took some out until it was just right.
Six people helped out with this project, which was simple, but a great learning tool. I really enjoyed how picky the crew was with how the sod went in. I also liked the way they debated and hassled each other to get the job done right. Good job.
The last pic shows the finished product. It might not make a difference in most rounds of golf, but if you want to chip and run or if you come up a bit short, your ball will stay on the same line as it should.


No comments:
Post a Comment