We've been getting that question a lot. Green speeds have picked up to over 11 feet on the stimp meter and it's left the membership guessing on the reasons why. Hopefully this post will shed some light on the factors that contribute to the recent improvement.
Green speed is not developed over night. I get asked all the time, "did you speed up the greens?" for some tournament or for weekend play. The greens are going to be nearly the same as they were the day before and probably the day before that. Unfortunately, there is no dial in the maintenance shop that behaves like a dimmer switch. Boy, how life would be simpler if that switch did exist.
Green speed is determined by a combination of many factors and many cultural practices. Mowing, of course, is one of those factors and we pretty much mow every day. The height we cut the grass is another factor, but it is very rarely changed, only during aerification does it raise up to avoid some sand and drop back down when the greens have healed. Returning to our normal height was part of the speed increase, but the greens are much faster now even though the height is the same as before.
Rolling the greens certainly influences green speed, but we also do this every day.
The way we water can influence green speed and we monitor moisture very closely, but we rarely dry them out completely to get crazy fast, hard greens. You'll see this in the major tournaments when the greens look near death on Sunday. If the PGA shows up, we'll go that route, but not for a Mens' Guest Day, sorry.
Growth regulators, chemicals that slow the vertical growth of turf, are very useful for improving the health and speed of greens. We use these year round.
So far, we have a list of items that are normal practices which will keep the greens rolling along. Now we get to the a few items that can turn greens around and make a major improvement.
First off, fertilization. I once worked at a course that had some amazing roots throughout the course, nearly 12 inches in many locations. The putting green began to have some problems on the surface, which turned out to be superficial fairy ring. The roots still looked excellent, but the turf up top was wilting and spotty. The owner was talking to the superintendent who told him about the impressive root system. The owner replied, "I don't care, I don't putt on the roots." He's right, but good roots usually means a good surface. Last year at this time, we had a little over an inch of roots. Today we have between 3 and 4 inches. That means we have stronger plants that are dense, withstand traffic, need less water, and resist disease. Our fertility program will improve the soil over time and will constantly be adjusted based on soil reports and conditions.
The other big item that makes big improvements is aerification and sanding. When we aerify, we break through layers, reduce thatch, provide new drain channels, introduce more oxygen, and deliver valuable nutrients to the soil profile. When performed properly, aerification can bring greens back to life and greatly smooth the surface. The sand application is just as important as punching the holes. We put a little extra on the greens to "cap" the holes to prevent the dimpling effect that will cause bumpy greens for months. The sand fills in the small imperfections and also insulates the growing points of each grass plant. This protects the plant from foot traffic and mechanical damage like scalping. Our newly purchased, light top dresser will take care of our sanding needs between aerifications and is essential to keep the greens rolling as well as they are now.
In closing, green speed is based on the cumulative effect of many separate efforts. Not a single item on this list can be ignored if excellent greens are the goal.
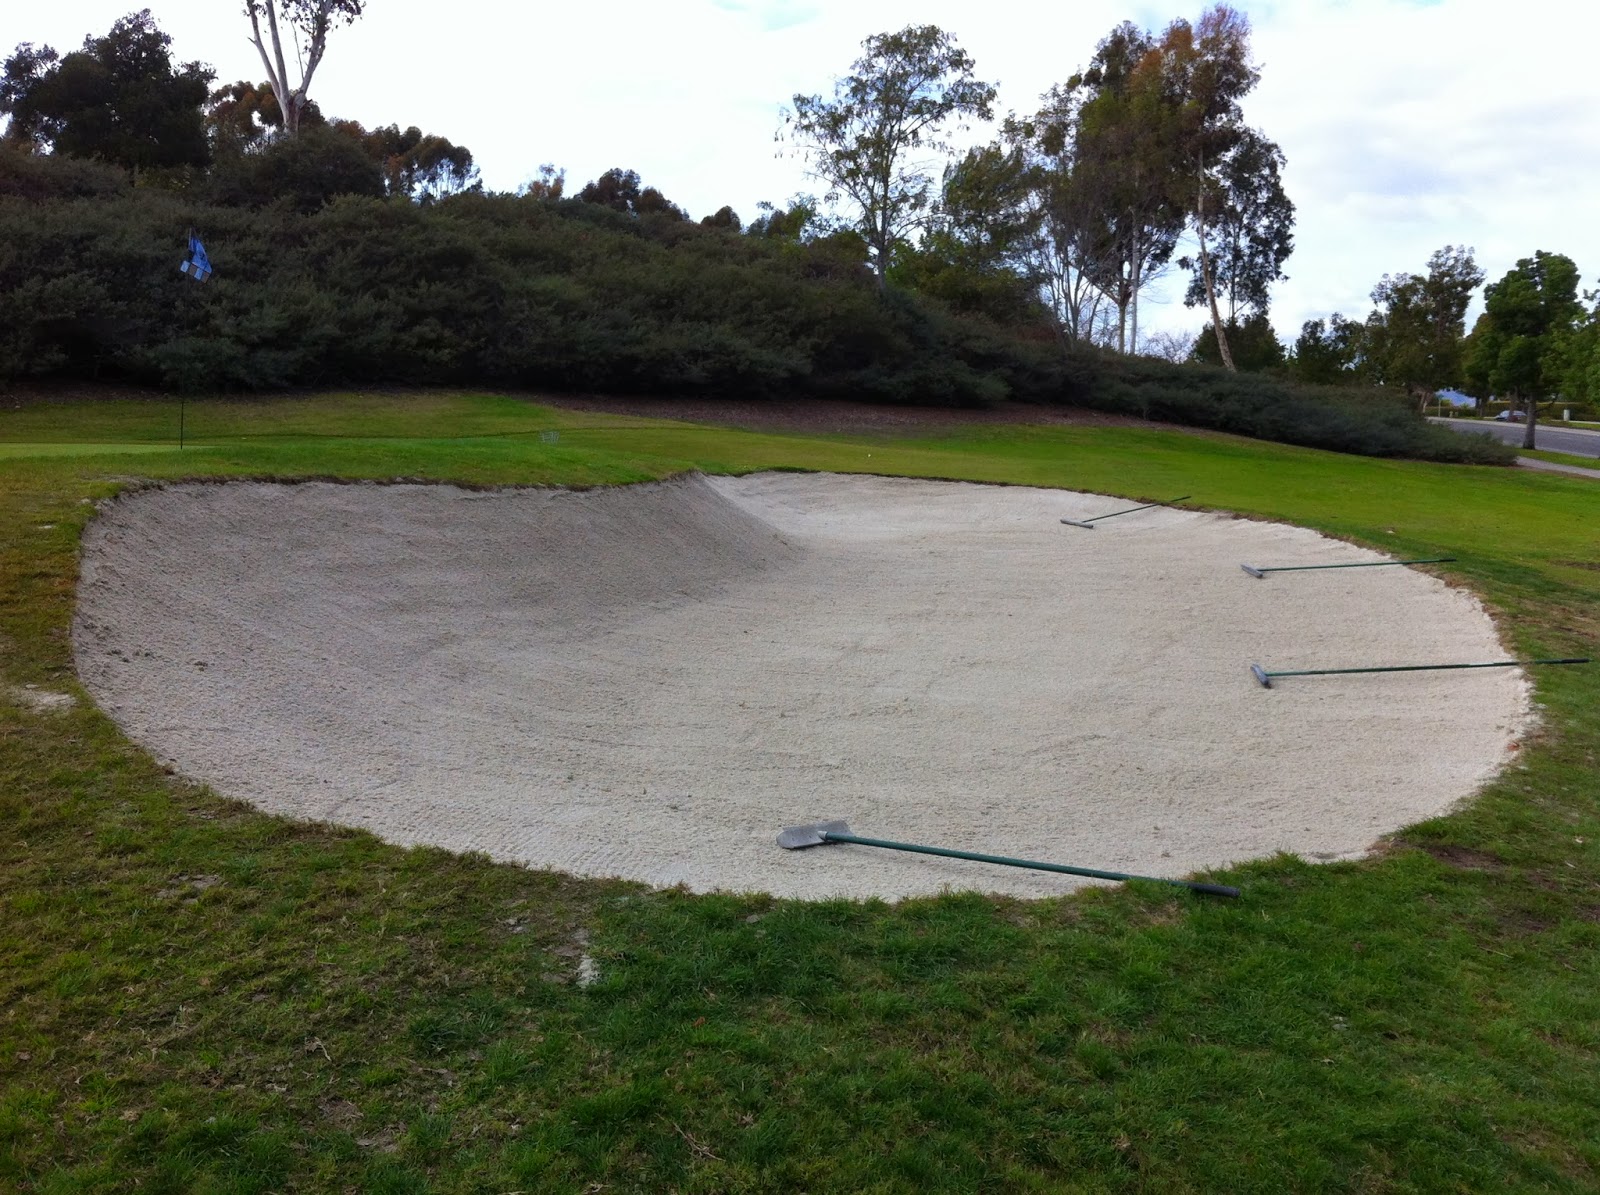
 The October bunker renovation on holes 5, 6, and 7 finished with some left over sand. Part of conducting this work within a seven day window is making sure we have enough product, so we erred on the side of caution. We stockpiled some bunker sand in the shop for future use and needed to use up what remained. Most bunkers call for a major overhaul complete with a lot of earth moving. The chipping bunker just needs some sand to practice shots so it was an obvious choice to be renovated in-house.


